Letterpress Printing
I recently completed a series of workshops at the Center for the Book in San Francisco in order to be certified to rent their letterpress printing equipment. After spending so much time on the computer designing complex interfaces and using programs to layout pages of content, it was refreshing to get back to good old ink, paper, and type.
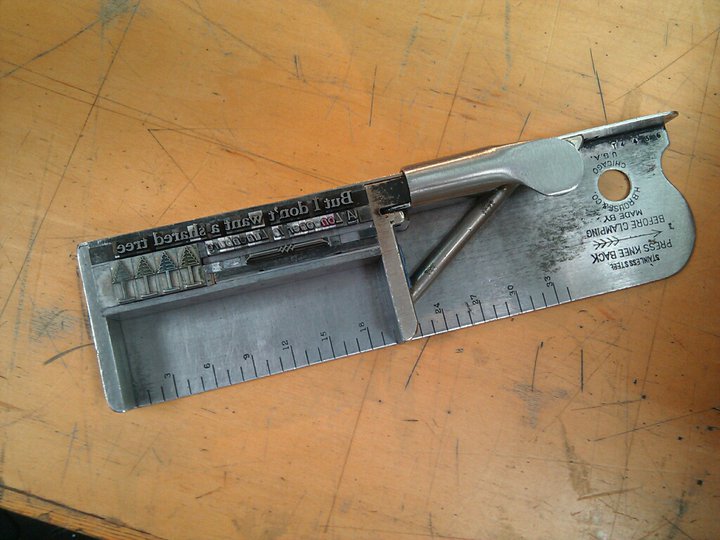
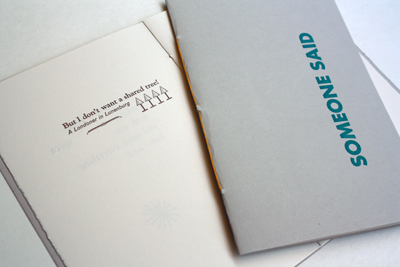
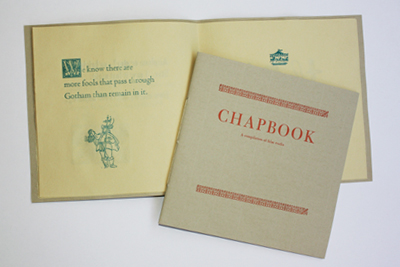
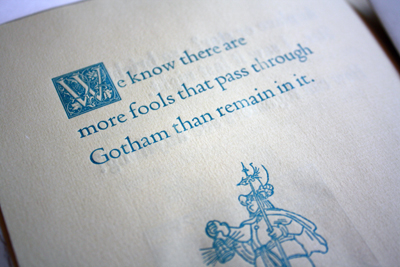
Each of the three workshops lasted for 8 hours, totaling 24 hours worth of press time. The instructors were experts on the Vandercook press and taught us the mechanics of the machines as well as printmaking techniques. We started each class with a task (usually laying out a page of a small chapbook), which involved choosing a typeface and handset it on a composing stick seen here.
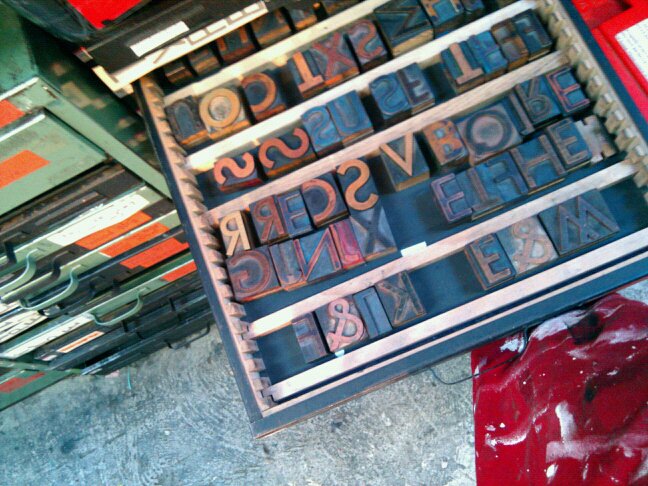
This often took the most time to do since you had to find each character in the giant California job case (a drawer segmenting the individual letters from one typeface), place the letters on the composing stick spelling the words backwards, and use leading plus spaces (solid metal parts for filling space) to lock up any loose areas. Once the type was all set, it was transferred to a galley (a metal tray), then onto the bed of the press. Blocks of wood called furniture were placed around the composition then locked into place with a quoin.
From there, ink was mixed by hand and applied to the rollers of the Vandercook press. Letting the rollers run for a bit helped distribute the ink so the color and density of the ink was even across the composition. Next, the rollers were set on ‘trip’ to ink the composition and the paper was aligned to the printing area.
Test runs were then done to determine the impression or bite the type had into the paper, the density of the ink, to check if any of the characters were damaged, and to check the registration of the page. Once all adjustments and corrections were made, it was a repetitive process of inserting paper, rolling the rollers over the bed, and removing the printed piece to dry. After the print run was completed, type was removed, cleaned, and sorted back into their cases, and the rollers were cleaned in a very process driven way so none of the ink we used was left over for the next print run to pick up.
Other details like adjusting the impression in the paper, printing multiple colors, using photo polymer plates, and printing on damp paper were taught in the second and third workshops. Now, it is remembering it all and doing it on my own.
Here’s a great short documentary on how letterpress printing is done and why it is so appealing:
http://www.youtube.com/watch?v=Iv69kB_e9KY
Here is an interesting description of what a chapbook is, its origins, and where my inspiration for my composition came from:
http://en.wikipedia.org/wiki/Chapbook
http://en.wikipedia.org/wiki/The_Wise_Men_of_Gotham
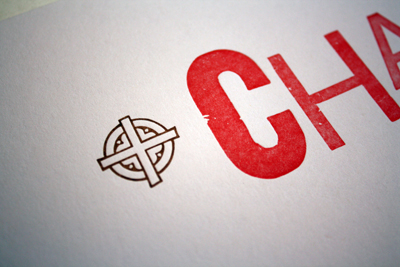
Here are photos of the prints currently on exhibit at the Center for the Book. After going through all three workshops, I truly appreciate how much of a craft this is and how exceptional these prints are—a must see!
Take the classes and learn the craft of letterpress printing! Students ranged from computer programmers, to graphic designers, to Telsa engineers!
http://sfcb.org/workshops


